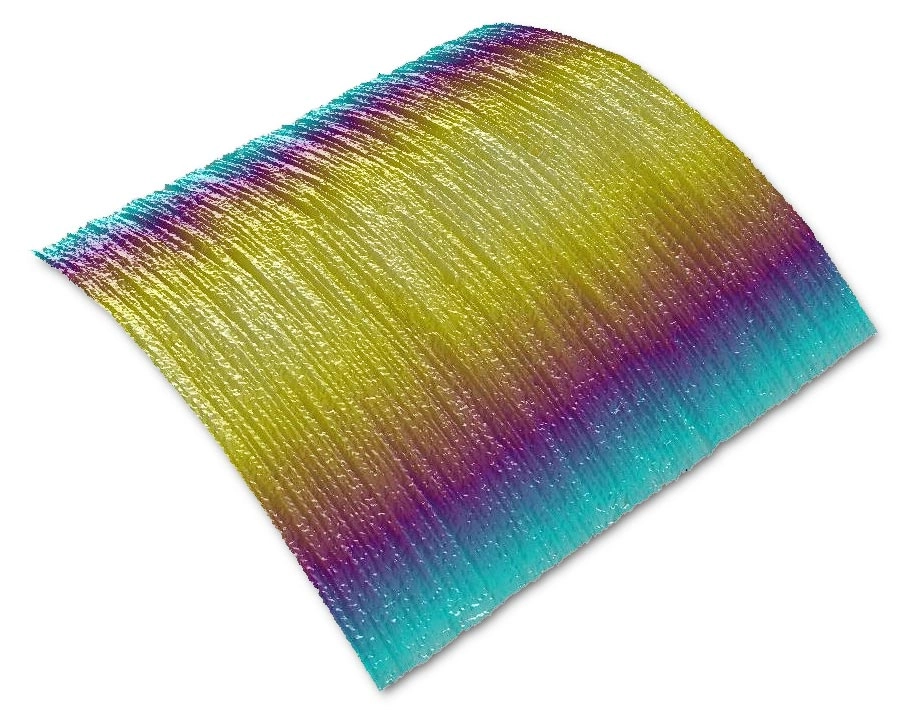
Precision Lead Angle Metrology
ZYGO helps major automaker implement precision metrology to measure and quantify lead angle of shaft sealing surfaces to reduce friction and improve efficiency.
Friction is the enemy of powerful and long-lasting engine performance. Automobile manufacturers know this all too well and work hard to reduce friction on engine crank- and gear shafts. Friction reduction requires engineering rotary dynamic seals with revolving cylindrical parts that are fashioned to such exact specifications they can move without generating harmful friction. The surface texture of the seal must be precise to maximize performance – a rough seal surface texture wears quickly, while seals that are too smooth don’t bed properly. Also, the shaft lead or machine lead angle should be zero so as not to induce a pumping effect that would transport fluid across the sealing surface, resulting in leakage. International and regional standards regulate specifications for surface finish and lead angle.
 Advanced 3D Imaging Drives Greater Precision
Fortunately for car makers, advances in technology now enable highly precise measurements using 3D imaging. White light interferometry, also called optical profiling, is a non-contact technique for measuring shaft lead angle, and its precision is unaffected by the amount of lead or height of the surface features. By using 3D surface parameters instead of 2D roughness parameters, speed, resolution, and repeatability are all improved. The system achieves consistent measurements regardless of how various operators align parts. It also delivers comprehensive 3D information and measures all critical shaft parameters, using a single technology, ensuring the best shaft quality.
ZYGO’s Cutting-Edge Instruments
It is crucial for automakers to take accurate measurements of shaft properties to ensure the manufacture of a well-designed engine. Zygo Corporation, a leading supplier of optical metrology instruments, is a pioneer in the development of 3D metrology systems. Their patented method for measuring shaft lead angle measures the entire sealing region – 360° – for exceptionally precise results. In a head-to-head comparison with a competitor’s instrument, both tools detected a 20 arcsec lead angle, but ZYGO’s system was able to measure a 1° lead angle which was not detectable by the other tool. White light interferometry is undoubtedly the most advanced technique for quantitatively measuring shaft surface texture and lead angle, and ZYGO’s highly precise instruments are second to none. Fill out the form below to learn more about ZYGO’s metrology products and technologies and their diverse applications.
Read more at zygo.com


